| Key Takeaways |
|---|
| There are many ways to make coffee while camping, depending on your preferences, budget, and equipment. |
| Instant coffee is the easiest and cheapest option, but it may not satisfy your taste buds. |
| Drip coffee is a popular and versatile method that can produce quality brews with minimal equipment. |
| Percolator coffee is a traditional and aromatic way to make strong coffee over a campfire. |
| French press coffee is a simple and elegant method that can extract the full flavor and body of your beans. |
If you are a coffee lover, you know how important it is to start your day with a hot cup of joe. But what if you are camping in the great outdoors, away from the comforts of your home or office? How can you make coffee while camping without compromising on taste and quality?
Fortunately, there are many ways to make coffee while camping, depending on your preferences, budget, and equipment. In this article, we will show you how to make coffee using four different methods: instant, drip, percolator, and French press. We will also give you some tips on how to choose the best coffee beans, grind size, water temperature, and brewing time for each method.
So, whether you are a casual camper or a hardcore adventurer, you can enjoy a delicious cup of coffee anytime, anywhere. Let’s get started!
How to Make Instant Coffee While Camping
Instant coffee is the easiest and cheapest option for making coffee while camping. It is made from brewed coffee that has been freeze-dried or spray-dried into granules or powder. All you need to do is add boiling water to dissolve the instant coffee and enjoy.
Pros and Cons of Instant Coffee
Instant coffee has some advantages and disadvantages that you should consider before choosing this method. Here are some of them:
- Pros
- It is very convenient and portable. You don’t need any equipment or filters, just a mug and a spoon.
- It is very affordable and widely available. You can find instant coffee in any supermarket or convenience store.
- It has a long shelf life and does not go stale. You can store instant coffee for months or even years without losing its flavor.
- Cons
- It may not taste as good as freshly brewed coffee. Instant coffee tends to have a flat and bitter flavor that may not satisfy your taste buds.
- It may not have as much caffeine as regular coffee. Instant coffee usually has less caffeine than drip or percolator coffee, which may not give you the energy boost you need.
- It may contain additives and preservatives that are not good for your health. Some instant coffee brands may add artificial flavors, colors, sweeteners, or chemicals to enhance their products.
How to Make Instant Coffee While Camping
Making instant coffee while camping is very easy and quick. Here are the steps you need to follow:
- Boil some water using a kettle, pot, or pan over a heat source such as a campfire, stove, or burner.
- Add one or two teaspoons of instant coffee (or more if you like it stronger) to your mug.
- Pour the boiling water over the instant coffee and stir well until dissolved.
- Add milk, sugar, creamer, spices, or anything else you like to customize your drink.
- Enjoy your instant coffee while camping!
Tips on How to Improve the Flavor of Instant Coffee
If you are not satisfied with the taste of instant coffee, there are some ways to improve it and make it more enjoyable. Here are some tips:
- Use filtered or bottled water instead of tap water. Tap water may have impurities or minerals that can affect the flavor of your coffee.
- Use more or less instant coffee depending on your preference. Experiment with different amounts until you find the right balance for your taste buds.
- Add some flavorings such as vanilla extract, cinnamon, nutmeg, cocoa powder, or honey to enhance the aroma and sweetness of your coffee.
- Add some fresh or powdered milk to make your coffee creamier and smoother.
- Add some ice cubes to make your coffee cold and refreshing.
How to Make Drip Coffee While Camping
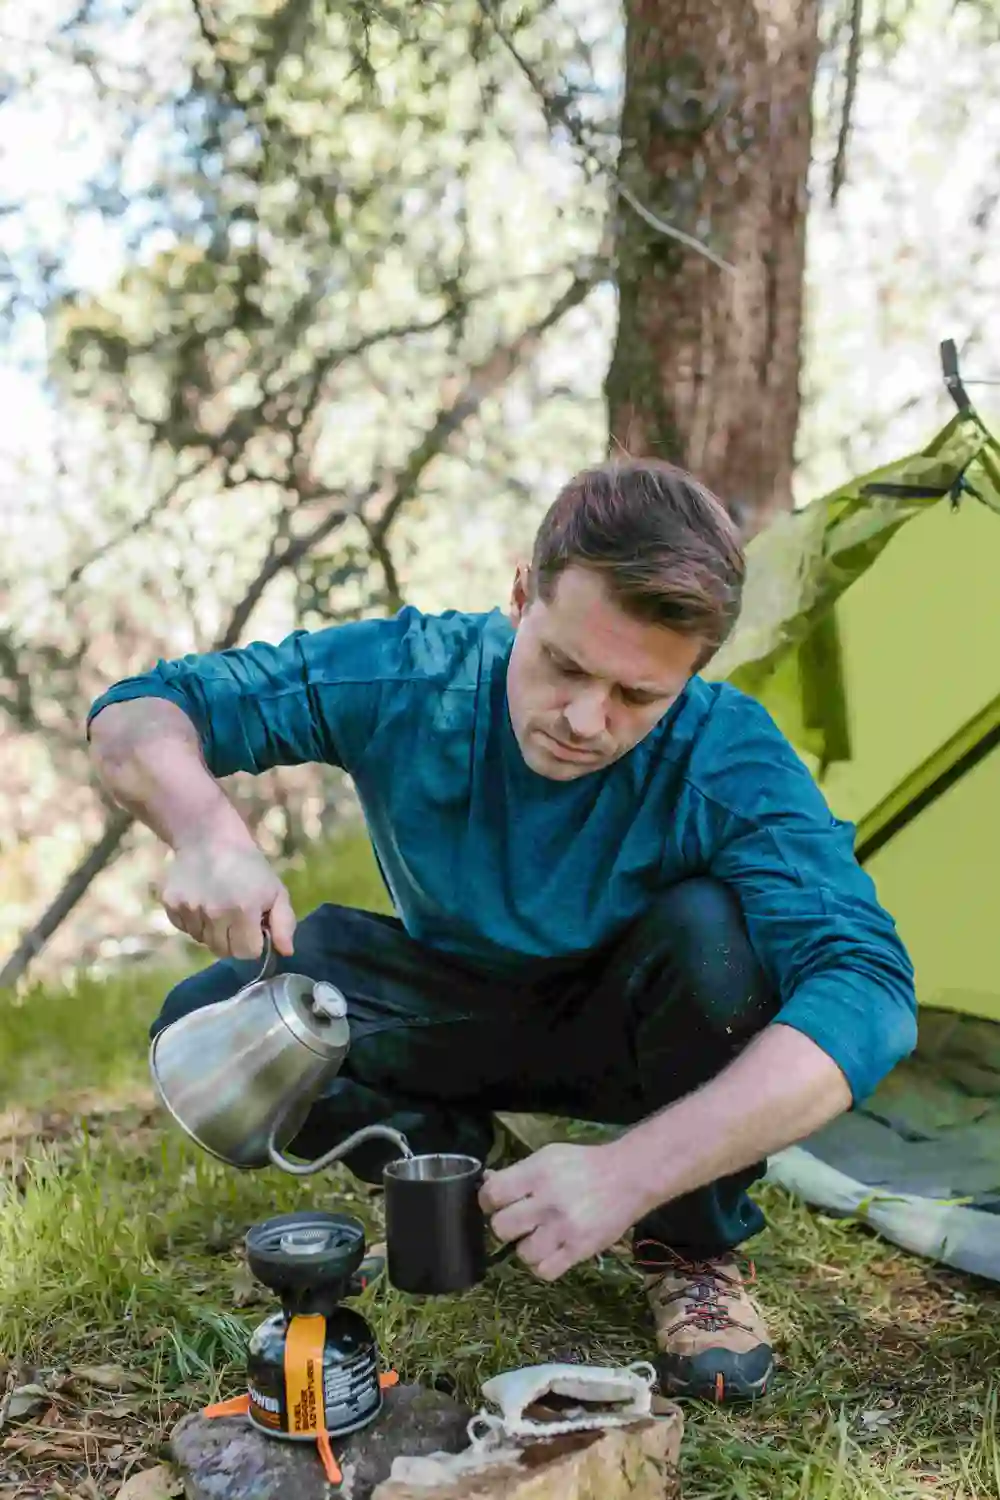
Drip coffee is a popular and versatile method that can produce quality brews with minimal equipment. It involves pouring hot water over ground coffee beans that are held by a filter holder or cone. The water passes through the grounds and drips into a mug or pot below.
Pros and Cons of Drip Coffee
Drip coffee has some advantages and disadvantages that you should consider before choosing this method. Here are some of them:
- Pros
- It can produce a smooth and balanced flavor that is not too strong or too weak.
- It can accommodate different types of coffee beans, roasts, and grinds. You can experiment with different combinations to suit your taste.
- It is easy to control the water temperature and brewing time. You can adjust these factors to extract the optimal flavor and caffeine from your coffee.
- Cons
- It requires some equipment and filters that you need to carry and clean. You need a filter holder, paper filters, ground coffee, boiling water, and a mug or pot.
- It may not be as convenient or fast as instant coffee. You need to boil water, set up the filter holder, and wait for the coffee to drip.
- It may not be as consistent as other methods. The quality of your coffee may vary depending on the freshness of your beans, the grind size, the water temperature, and the brewing time.
How to Make Drip Coffee While Camping
Making drip coffee while camping is not very difficult, but it requires some attention and patience. Here are the steps you need to follow:
- Boil some water using a kettle, pot, or pan over a heat source such as a campfire, stove, or burner.
- Set up your filter holder over your mug or pot. You can use a plastic or metal cone that fits over your mug or pot, or a collapsible silicone filter holder that is more compact and lightweight.
- Place a paper filter inside the filter holder and rinse it with some hot water to remove any paper taste and preheat the filter holder.
- Add one or two tablespoons of ground coffee (or more if you like it stronger) to the filter. You can use pre-ground coffee or grind your own beans using a manual or electric grinder.
- Pour some hot water over the grounds to wet them and let them bloom for about 30 seconds. This will release the gases and oils from the coffee and enhance the flavor.
- Pour more hot water over the grounds in a circular motion, starting from the center and moving outward. Make sure to pour slowly and evenly to saturate all the grounds and avoid overflowing.
- Wait for the coffee to drip into your mug or pot. This may take a few minutes depending on the amount of coffee and water you use.
- Remove the filter holder and enjoy your drip coffee while camping!
Tips on How to Choose the Right Grind Size, Water Temperature, and Brewing Time for Drip Coffee
If you want to make the best drip coffee while camping, you need to pay attention to three important factors: grind size, water temperature, and brewing time. Here are some tips on how to choose them:
- Grind size: The grind size affects how fast or slow the water passes through the grounds and how much flavor and caffeine are extracted. For drip coffee, you want a medium-fine grind that is similar to table salt or sand. If your grind is too coarse, the water will pass too quickly and your coffee will be weak and watery. If your grind is too fine, the water will pass too slowly and your coffee will be bitter and over-extracted.
- Water temperature: The water temperature affects how much flavor and caffeine are extracted from the coffee. For drip coffee, you want a hot but not boiling water that is around 195°F (90°C) to 205°F (96°C). If your water is too cold, your coffee will be sour and under-extracted. If your water is too hot, your coffee will be bitter and over-extracted.
- Brewing time: The brewing time affects how much flavor and caffeine are extracted from the coffee. For drip coffee, you want a brewing time that is between 3 to 5 minutes depending on the amount of coffee and water you use. If your brewing time is too short, your coffee will be weak and watery. If your brewing time is too long, your coffee will be bitter and over-extracted.
To achieve the optimal grind size, water temperature, and brewing time for drip coffee while camping, you can use some tools such as a thermometer, a timer, a scale, or a measuring spoon. However, if you don’t have these tools or don’t want to carry them, you can also use some tricks such as:
- Grind size: You can estimate the grind size by rubbing some grounds between your fingers or looking at their color and texture. You can also adjust the grind size by changing the amount of pressure you apply when grinding your beans manually.
- Water temperature: You can estimate the water temperature by looking at its appearance or feeling its heat. You can also adjust the water temperature by letting it cool down for a few seconds after boiling or adding some cold water to lower it.
- Brewing time: You can estimate the brewing time by counting in your head or using a watch or a phone. You can also adjust the brewing time by changing the amount of coffee or water you use or stopping the dripping process when you reach the desired strength.
How to Make Percolator Coffee While Camping
Percolator coffee is a traditional and aromatic way to make strong coffee over a campfire. It involves boiling water in a metal pot that has a small chamber with a tube and a basket filled with ground coffee. The boiling water rises through the tube and sprinkles over the grounds, then drips back into the pot. This process repeats until the coffee reaches the desired strength.
Pros and Cons of Percolator Coffee
Percolator coffee has some advantages and disadvantages that you should consider before choosing this method. Here are some of them:
- Pros
- It can produce a rich and full-bodied flavor that is not diluted by paper filters.
- It can make a large amount of coffee at once, which is ideal for groups or long trips.
- It can create a cozy and nostalgic atmosphere with its sound and smell.
- Cons
- It can be prone to over-extraction and bitterness, especially if the water boils too fast or too long.
- It can be difficult to control the water temperature and brewing time, which can affect the quality of the coffee.
- It requires some equipment and cleanup that you need to carry and wash. You need a percolator pot, water, ground coffee, and a heat source.
How to Make Percolator Coffee While Camping
Making percolator coffee while camping is not very complicated, but it requires some attention and care. Here are the steps you need to follow:
- Fill the bottom chamber of your percolator pot with water up to the fill line or just below the spout.
- Insert the tube and the basket into the pot and fill the basket with ground coffee. You can use one tablespoon of coffee per cup of water or adjust according to your taste.
- Place the lid on the pot and put it over a heat source such as a campfire, stove, or burner.
- Bring the water to a boil and lower the heat to maintain a gentle simmer. You should see bubbles or steam coming out of the spout or the glass knob on the lid.
- Perk your coffee for about 10 minutes or until it reaches your desired strength. You can check the color and aroma of your coffee by lifting the lid slightly or looking through the glass knob.
- Remove the pot from the heat and let it rest for a few minutes to settle the grounds.
- Enjoy your percolator coffee while camping!
Tips on How to Avoid Over-Extraction and Bitterness in Percolator Coffee
If you want to avoid over-extraction and bitterness in percolator coffee, you need to pay attention to two important factors: water temperature and brewing time. Here are some tips on how to control them:
- Water temperature: The water temperature affects how much flavor and caffeine are extracted from the coffee. For percolator coffee, you want a hot but not boiling water that is around 200°F (93°C). If your water is too cold, your coffee will be sour and under-extracted. If your water is too hot, your coffee will be bitter and over-extracted.
- Brewing time: The brewing time affects how much flavor and caffeine are extracted from the coffee. For percolator coffee, you want a brewing time that is between 5 to 10 minutes depending on the amount of coffee and water you use. If your brewing time is too short, your coffee will be weak and watery. If your brewing time is too long, your coffee will be bitter and over-extracted.
To achieve the optimal water temperature and brewing time for percolator coffee while camping, you can use some tools such as a thermometer, a timer, a scale, or a measuring spoon. However, if you don’t have these tools or don’t want to carry them, you can also use some tricks such as:
- Water temperature: You can estimate the water temperature by looking at its appearance or feeling its heat. You can also adjust the water temperature by moving the pot closer or farther from the heat source or adding some cold water to lower it.
- Brewing time: You can estimate the brewing time by counting in your head or using a watch or a phone. You can also adjust the brewing time by changing the amount of coffee or water you use or stopping the perking process when you reach the desired strength.
How to Make French Press Coffee While Camping
French press coffee is a simple and elegant method that can extract the full flavor and body of your beans. It involves steeping coarsely ground coffee in hot water for a few minutes, then pressing down a plunger with a metal mesh filter to separate the grounds from the liquid.
Pros and Cons of French Press Coffee
French press coffee has some advantages and disadvantages that you should consider before choosing this method. Here are some of them:
- Pros
- It can produce a rich and complex flavor that is not filtered by paper or metal.
- It can retain the natural oils and aromas of your beans, which can enhance the taste and smell of your coffee.
- It is easy to use and clean. You only need a French press, water, ground coffee, and a heat source.
- Cons
- It can leave some sediment or sludge in your cup, which can affect the texture and clarity of your coffee.
- It can lose heat quickly, which can affect the flavor and freshness of your coffee.
- It requires some equipment and cleanup that you need to carry and wash. You need a French press, water, ground coffee, and a heat source.
How to Make French Press Coffee While Camping
Making French press coffee while camping is very simple and quick. Here are the steps you need to follow:
- Boil some water using a kettle, pot, or pan over a heat source such as a campfire, stove, or burner.
- Add one or two tablespoons of coarsely ground coffee (or more if you like it stronger) to your French press. You can use pre-ground coffee or grind your own beans using a manual or electric grinder.
- Pour some hot water over the grounds to wet them and let them bloom for about 30 seconds. This will release the gases and oils from the coffee and enhance the flavor.
- Pour more hot water over the grounds until you reach the desired level. You can use a scale or a measuring cup to measure the amount of water or just eyeball it.
- Stir the coffee gently with a spoon or a chopstick to mix it well.
- Place the lid on the French press with the plunger up and let it steep for about 4 minutes or until it reaches your desired strength. You can use a timer or a watch to keep track of the time or just count in your head.
- Press down the plunger slowly and evenly to separate the grounds from the liquid.
- Enjoy your French press coffee while camping!
Tips on How to Choose the Right Grind Size, Water Temperature, and Steeping Time for French Press Coffee
If you want to make the best French press coffee while camping, you need to pay attention to three important factors: grind size, water temperature, and steeping time. Here are some tips on how to choose them:
- Grind size: The grind size affects how fast or slow the water passes through the grounds and how much flavor and caffeine are extracted. For French press coffee, you want a coarse grind that is similar to sea salt or breadcrumbs. If your grind is too fine, the water will pass too quickly and your coffee will be weak and watery. If your grind is too coarse, the water will pass too slowly and your coffee will be bitter and over-extracted.
- Water temperature: The water temperature affects how much flavor and caffeine are extracted from the coffee. For French press coffee, you want a hot but not boiling water that is around 195°F (90°C) to 205°F (96°C). If your water is too cold, your coffee will be sour and under-extracted. If your water is too hot, your coffee will be bitter and over-extracted.
- Steeping time: The steeping time affects how much flavor and caffeine are extracted from the coffee. For French press coffee, you want a steeping time that is between 3 to 5 minutes depending on the amount of coffee and water you use. If your steeping time is too short, your coffee will be weak and watery. If your steeping time is too long, your coffee will be bitter and over-extracted.
To achieve the optimal grind size, water temperature, and steeping time for French press coffee while camping, you can use some tools such as a thermometer, a timer, a scale, or a measuring spoon. However, if you don’t have these tools or don’t want to carry them, you can also use some tricks such as:
- Grind size: You can estimate the grind size by rubbing some grounds between your fingers or looking at their color and texture. You can also adjust the grind size by changing the amount of pressure you apply when grinding your beans manually.
- Water temperature: You can estimate the water temperature by looking at its appearance or feeling its heat. You can also adjust the water temperature by letting it cool down for a few seconds after boiling or adding some cold water to lower it.
- Steeping time: You can estimate the steeping time by counting in your head or using a watch or a phone. You can also adjust the steeping time by changing the amount of coffee or water you use or stopping the steeping process when you reach the desired strength.
Conclusion
Making coffee while camping can be a fun and rewarding experience that can enhance your enjoyment of nature and adventure. There are many ways to make coffee outdoors, depending on your preferences, budget, and equipment.


Use the share button below if you liked it.
It makes me smile, when I see it.